Add a Simple Asset
Objective: Gain an understanding of how to Add, Edit, or Delete a Simple Asset.
Simple Assets are a low-level asset against which data can be captured. They allow agencies to collect granular data that is used for internal purposes such as determining facility maintenance activities, coming up with a fit-out value, or capturing fine-grained engineering data.
Simple Assets are stored against a Component, or a Simple Asset Group to create an alternative and logical hierarchy of Simple Asset data. Simple Asset Groups are only available in certain asset categories including Buildings, Fleet, Signs, and Irrigation.
Simple Assets can be added via Level 2 Assessments within the Brightly Assetic Assessments module or by using Data Exchange
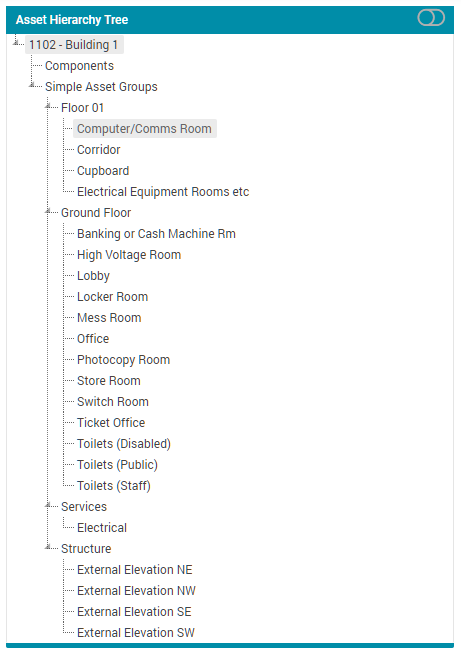
Alternatively, Simple Assets can be added by Navigating to an existing Asset and selecting a Component or Simple Asset Group:
This will load a Dashboard that displays a list of Simple Assets automatically filtered to the 'Active' status:
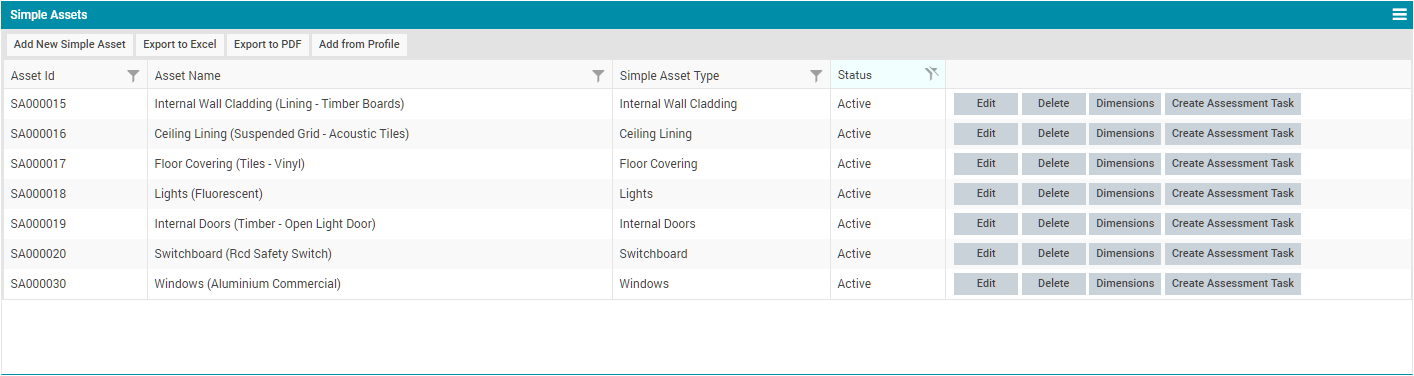
In the example above, the 'Computer/Comms Room' Simple Asset Group has been selected and the list of Simple Assets stored against this Simple Asset Group is displayed. Select the 'Export' buttons to export this list into PDF / Excel format.
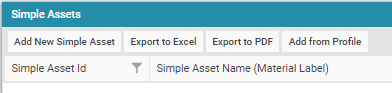
Select 'Add New Simple Asset' button to create a new Simple Asset.
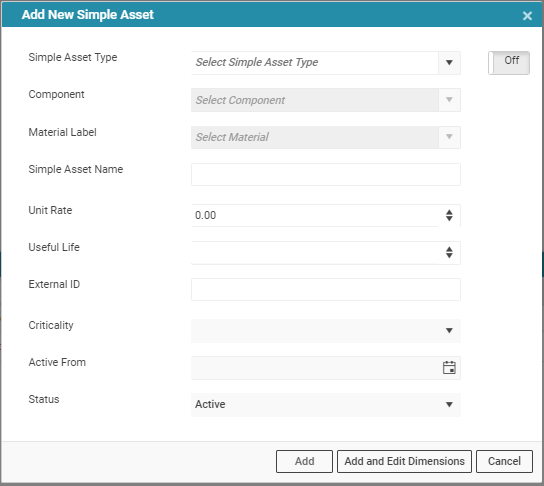
This will load the following dialogue box:
-
Simple Asset Type: This a drop-down field to select the Simple Asset Type.
-
Component: Once the Simple Asset Type has been selected, an appropriate 'Component' must be selected.
-
Material Label: Once the Simple Asset Type has been selected, an appropriate 'Material' must be selected.
-
Simple Asset Name: The Asset Name is automatically populated once the Simple Asset Type field is selected.
-
Unit Rate, Useful Life: The Unit Rate (UR) and Useful Life (UL) are pre-populated based on a set of default rates for the Simple Asset Type and Material selected.
-
External ID: This is an optional field which is used to store the external system Ids.
-
Criticality: An optional field to set the Criticality.
-
Active From: The date of when the Simple Asset is to take effect.
-
Status: Active or Inactive are selected from this drop-down field to set the initial Status for the new Simple Asset.
Select the 'Add' button to create the Simple Asset against this Component or Simple Asset Group.
All of the above available fields are configured within the Administration area by a System Administrator.
Once a Simple Asset is created, its status can be changed by selecting the 'Edit' button in the grid and choosing between Active and Inactive. Making a Simple Asset's parent Simple Asset Group inactive will automatically move the child Simple Asset to 'Inactive'.
Alternatively, the status of Simple Asset can be bulk updated through the Data Exchange module.

The 'Dimensions' button in the grid is used to input Dimension data. Dimensions data entry is detailed in the Edit a Simple Asset Article.
Simple Assets that are associated with any Level 2 Assessments can be set as 'Inactive'. To do this, select the 'Delete' button that is available against the Simple Asset and a confirmation window is displayed:
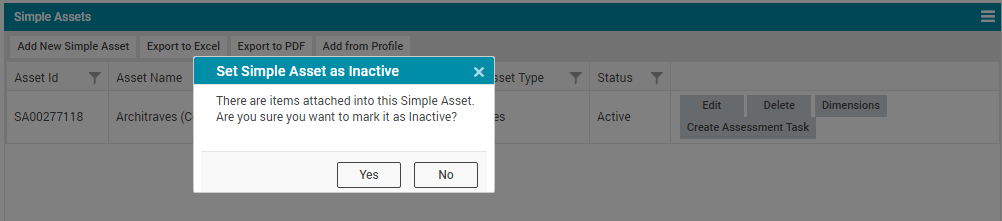
Selecting 'Yes' will mark the Simple Asset status as Inactive:

Simple Assets that are not associated with Level 2 Assessments can be permanently deleted from the system. Click on the 'Delete' button and the following window appears:
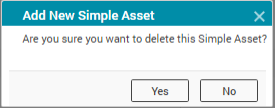
Select 'Yes' to delete the Simple Asset permanently.
